Description
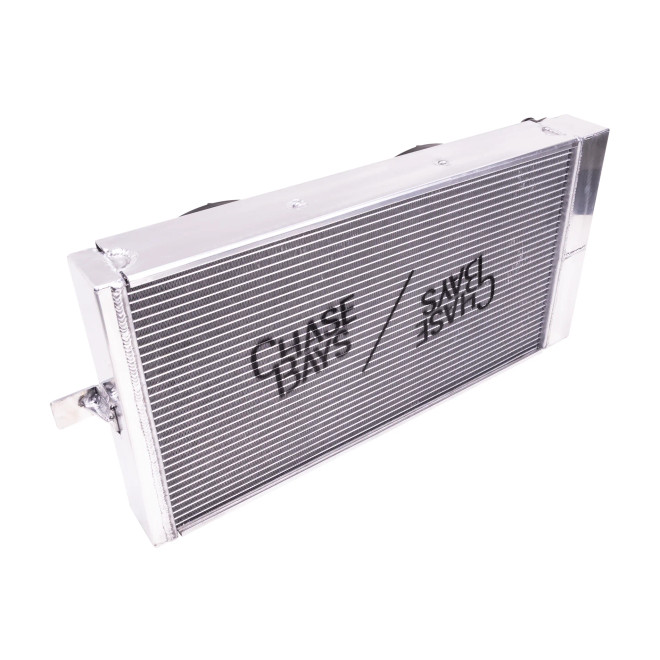
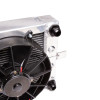
The Chase Bays Tucked Radiator for Nissan 240sx Silvia S chassis & Skyline R32 is designed for those wanting to open up space in their crowded engine bays, get a better look aesthetically, and improve cooling power. It offers more fluid capacity than most aftermarket rads, more direct airflow, & dual pass design. We shorten 8" of space but increase the width and thickness to compensate. This radiator has been rigorously track/drift tested for nearly a decade & is on countless show winning engine bays.
We've designed this aluminum radiator to fill every bit of space under core support while still being able to run (2) 12” fans. This radiator requires some light front core support cutting. We wanted to make the radiator as large as possible while staying under core support. To accomplish this we had to cut into the chassis. This radiator hits the stock S13 pop-up motors, but with this product it can be relocated: S13 Headlight Motor Relocation
Shroud?
We formerly sold our Radiator with a Fan Shroud, until June 2019. This was a great way to mount fans (Mounting fans directly to core will void your warranty and ruin the Radiator) and to increase cooling efficiency. The only problem is anything past 12mph...a shroud can actually restrict flow. We changed to fan brackets built into the radiator and no complete covering shroud. This decreased the price $175 dollars AND increased cooling efficiency. =O
Fans
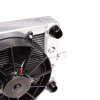
The radiator is setup for our extremely high powered 12" Chase Bays Ultra Duty Fans that are 1,700 CFM each. 3,400 CFM total!! It's important that each fan is on its own relay w/ proper sized wiring & that fill point is actually the highest point in system. These 2 things are most commonly overlooked. For this reason we make Dual Fan Relay Harness w/ 180º F Thermoswitch and our Raised Inline Filler Neck (read more below).
The Chase Bays Ultra Duty Fans are 1.5 inches thicker than standard Slim Fans fans so they will take up more space. Luckily with this radiator you'll still have plenty of room on i6 and V8. Install photos can be seen on photo scroll above with all engine types.
Modular Inlet/Outlet and Reversible Orientation
The radiator inlet & outlet have to be on same side since it's a dual pass design. We've designed the radiator to be completely reversible w/ interchangeable inlet/outlet types. It looks the same on top & bottom plus the brackets are centered.
Inlet & outlet are -20AN female threads. So we thread in whichever adapters you need. If you change your mind down the road, there's no cutting & welding. Just threading on new adapters. We offer OE style in 1.38" and 1.5", -16AN, and -20AN. We recommend you put radiator orientation closer to upper water neck. On JZ's, we cut and mod the upper neck to NOT face the LHD Driver Side.
KA/SR Upper & Lower: 1.38" (35mm)
RB Upper: 1.38" (35mm) & Lower: 1.5" (38mm)
1JZ/2JZ Upper: 1.38" (35mm) & Lower: 1.5" (38mm)
GM LS Upper & Lower: 1.5" (38mm)
We do NOT recommend -16AN for popular swapped engines & we give a fair warning about -20AN. Stock inner diameter of hose for SR/RB/KA/CA, 1JZ/2JZ, & GM LS engines is 1.38" and 1.5" inch. -16AN is 1" & -20AN is 1.25" By going w/ those, you're creating a restriction that's normally not there. -20AN is fine but -16AN you're reducing flow by up to 34%.
Fill Point
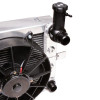
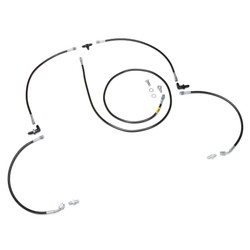
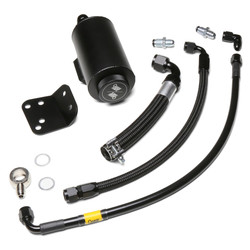
Since the top of our radiator sits lower than stock, we have to make a new fill point. 1st step is getting an inline filler neck, luckily you can now get that through us. The way you setup filler neck will make your hose selection easier. Our personal favorite is on radiator itself using our Chase Bays Raised Modular Filler Neck. It's raised perfect height to match original fill point height.
To do this select -20AN for 1 side of Chase Bays Filler Neck when selecting options, other side will be whatever hoses you choose to go with. So if you're using OE Push-On style Silicone Hoses, you'd select "1.38mm Normal Hose" for 1 option & "-20AN" for other. -20AN side will thread right into radiator then you'll twist filler neck onto that. W/ thick O-Ring Seal on both sides, getting filler neck 0º vertical is easy w/ adjustment of both sides.
The other option is putting it on upper water neck via clamp or welding (which will require fab work).

